Skip to content

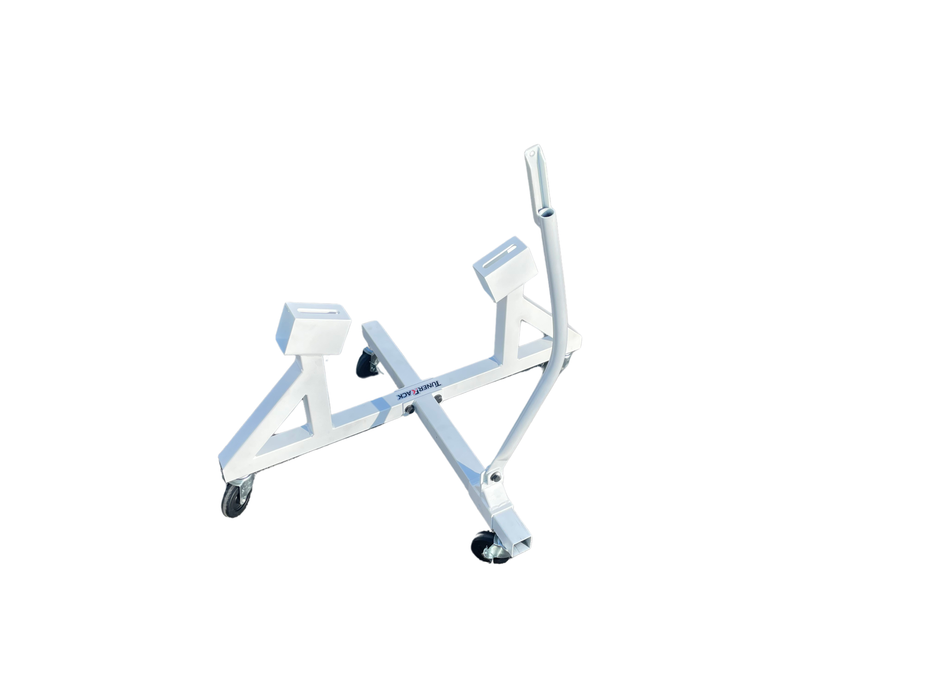
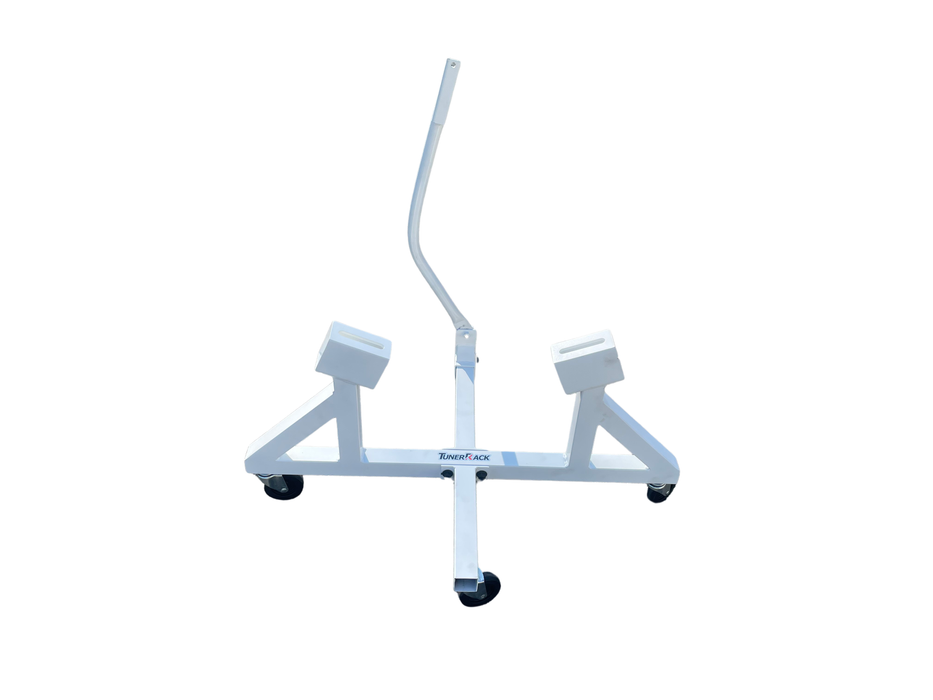
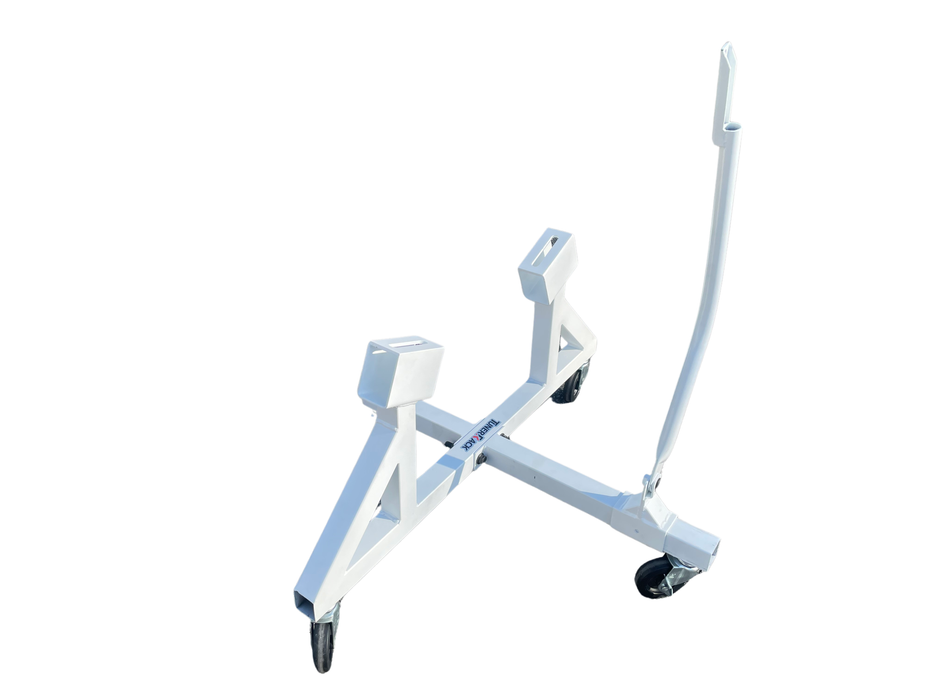
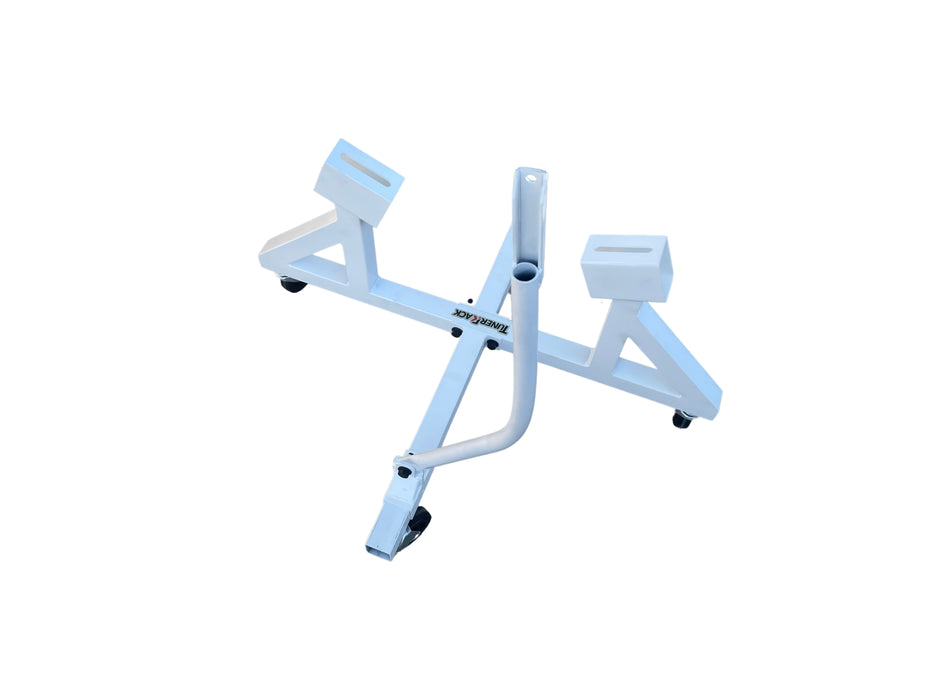
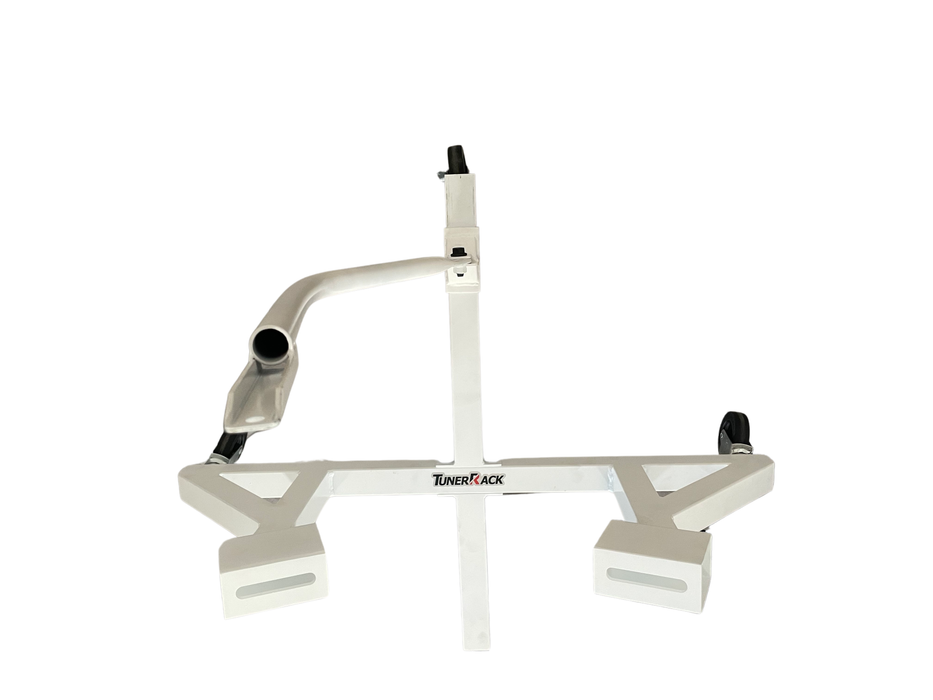
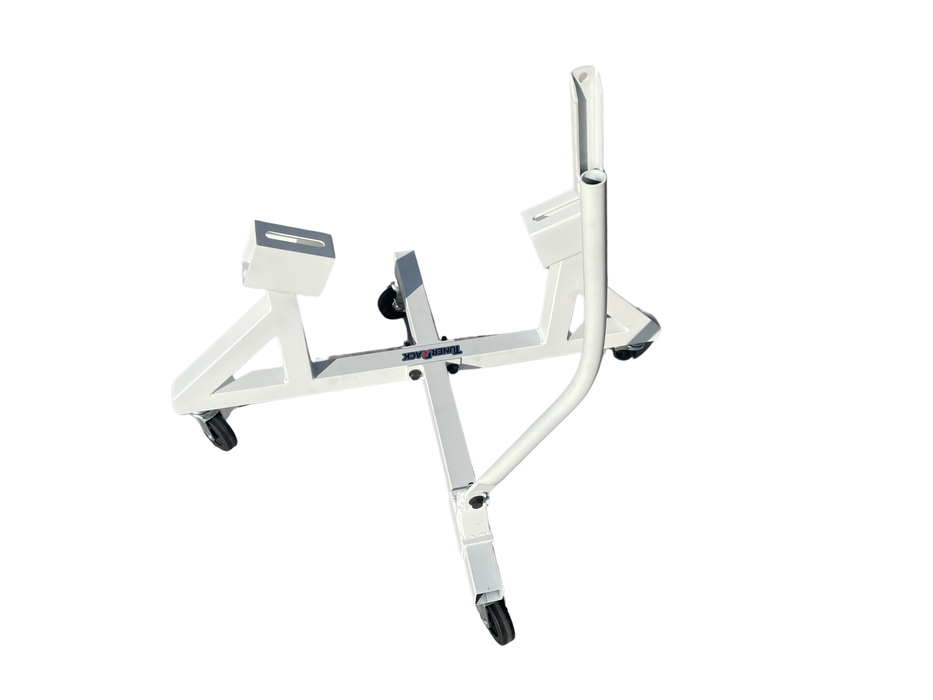
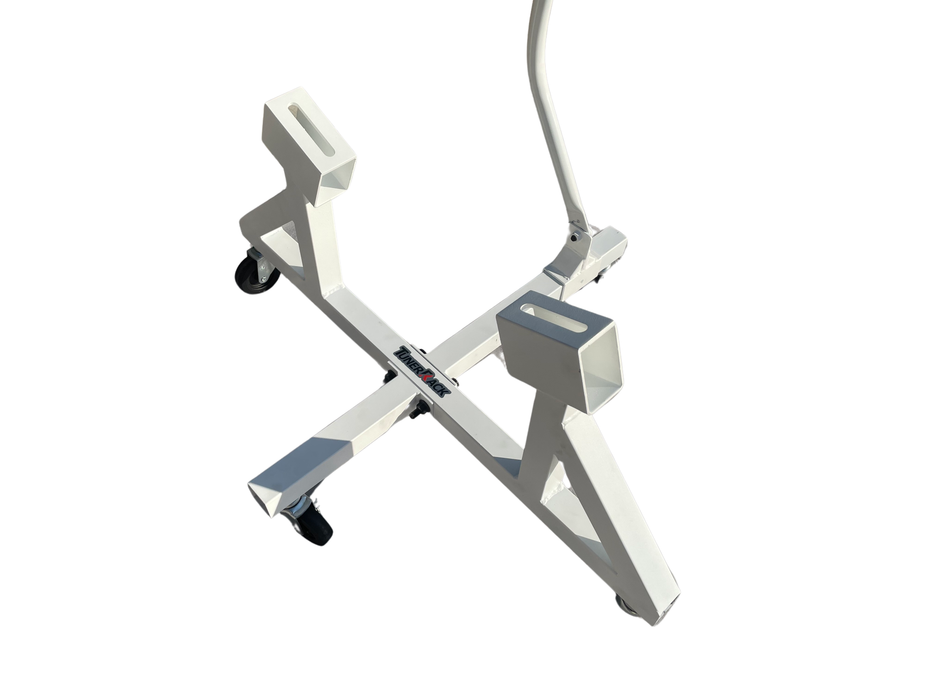
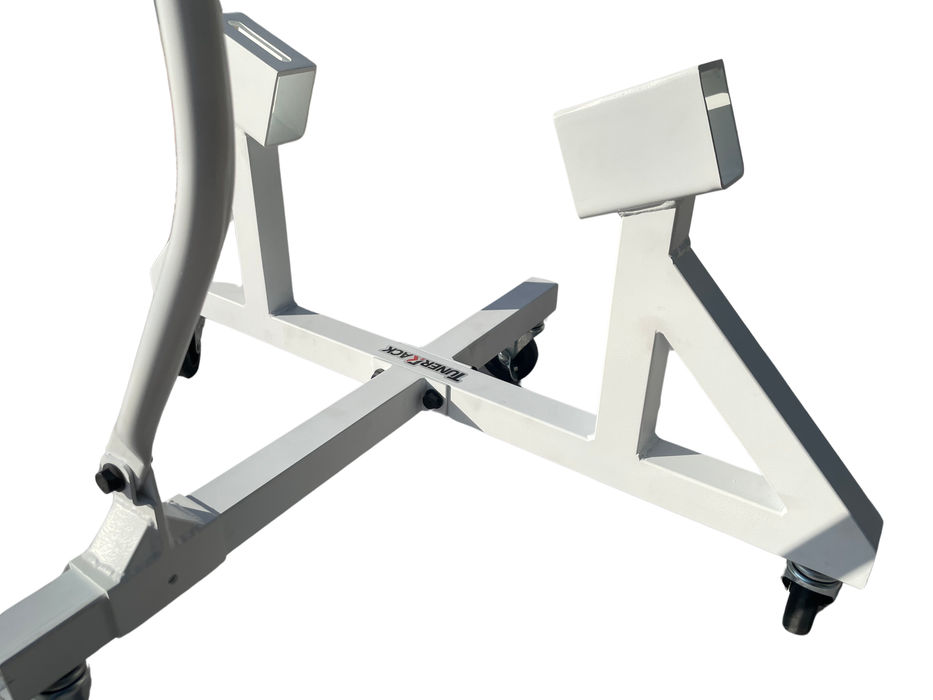
TunerRack Boxer Engine Stand for Subaru vehicles

Sale
Original price $229.90
Current price $199.95

TunerRack Boxer Engine Stand for Subaru vehicles

Original price $229.90
Current price $199.95
.

The TunerRack engine stand for Subaru boxer engines is a solution born out of our frustration with engines taking up valuable space and being hard to move in our workshop.

Given the weight and dimensions of engines, their mobility became a challenge, prompting us to create a compact engine stand specifically designed for Subaru engines. Compatible with the Subaru EJ, FA, FB flat boxer engines.

Subaru Engine Compatibility:

  • EJ series: EJ20, EJ22, EJ25, EJ255, EJ257
  • FB series: FB16, FB20, FB25, FB30
  • FA series: FA20, FA24

FREE Standard shipping 

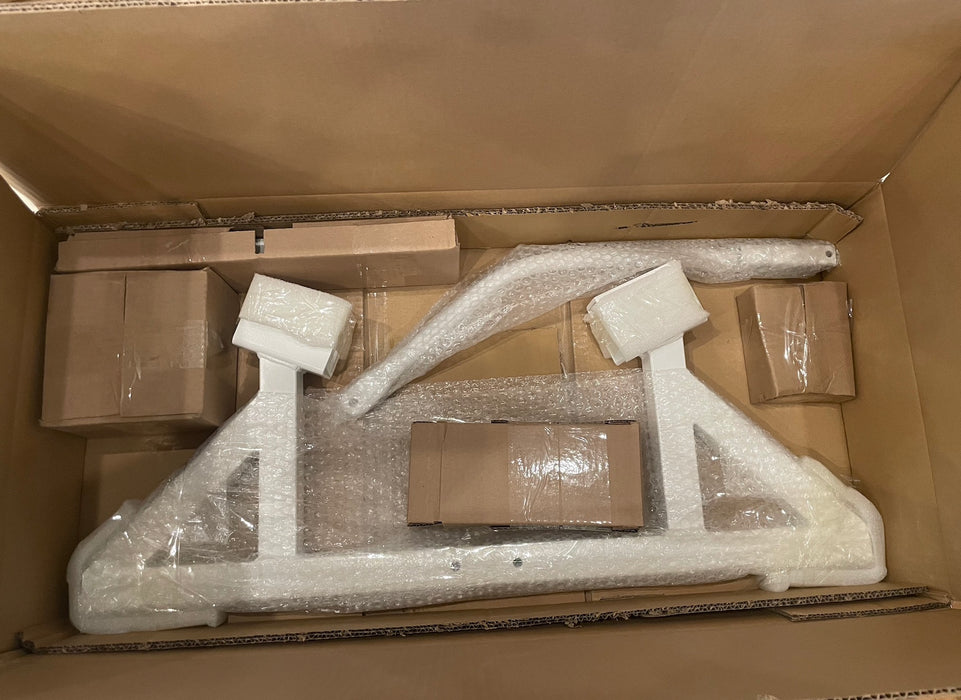
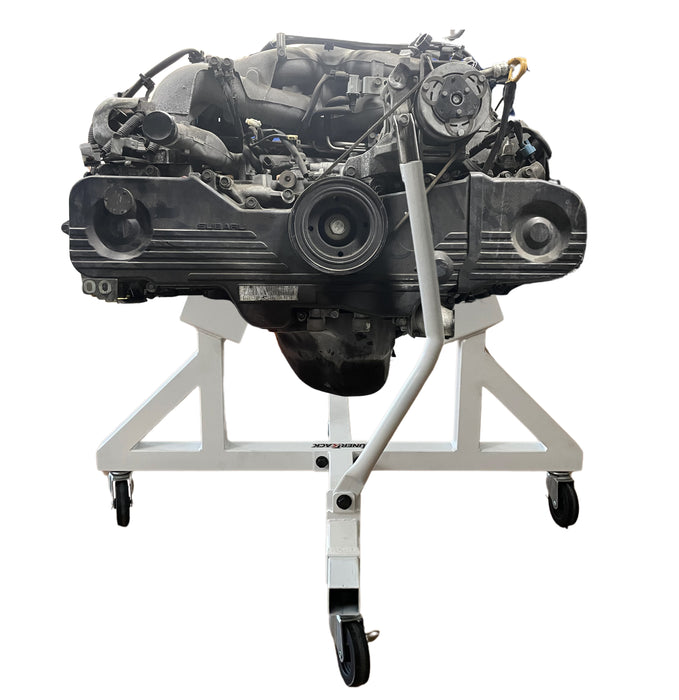
Comprising just four main parts (excluding casters), it can be effortlessly assembled and disassembled for convenient storage. Its low-profile design allows easy storage and access to the rear of the engine. It is an ideal stand for servicing and replacing the clutch, the main seal and fly wheel.

MADE IN USA! (The components making up this item are cut and welded in our shop here in California, then it is shipped to powder coating in another local shop. Afterword’s it is shipped back to us for final assembly and packaging. All of the materials used to build this product are locally sourced.)

Please note this engine stand is for Subaru engines ONLY and is not meant to replace a conventional rotating engine stand platform.

Large Item shipping disclosure: Please note since this item exceeds the weight and size of a regular package it will be shipped using freight or similar method. We will do our best to ship the item out within 24 business hours however please allow a longer travel time. Once shipped, we'll promptly provide you with a tracking number. This tracking information will enable you to monitor the shipping progress and receive updates accordingly.


Compatibility:
 

May be used on the following Subaru engines: 


  • EJ series:   EJ20, EJ22, EJ25, EJ255, EJ257
  • FB series: FB16, FB20, FB25, FB30
  • FA series: FA20, FA24


Package Includes:


2 Metal base arms (Long arm to be used to balance the front of the engine)

1 Base bracket

4 Castors

2 Hex bolts and huts (for main assembly)

1 Clevis sleeve (used to bold the support arm)

1 Balance/Support arm

1 Support arm bolt

4 nuts (to be used to attach the casters to the base) 

Specifications:
 

  • 100% Brand New in the box 
  • High quality solid steel construction
  • Durable powder coat finish. 
  • Approximately 16LB 
  • For home shop or professional use


INSTALLATION:

  • Professional assembly is highly recommended.
  • While assembly instructions are not provided in the box, we've included a step-by-step guide below for your convenience:
    1. Unpackage all items
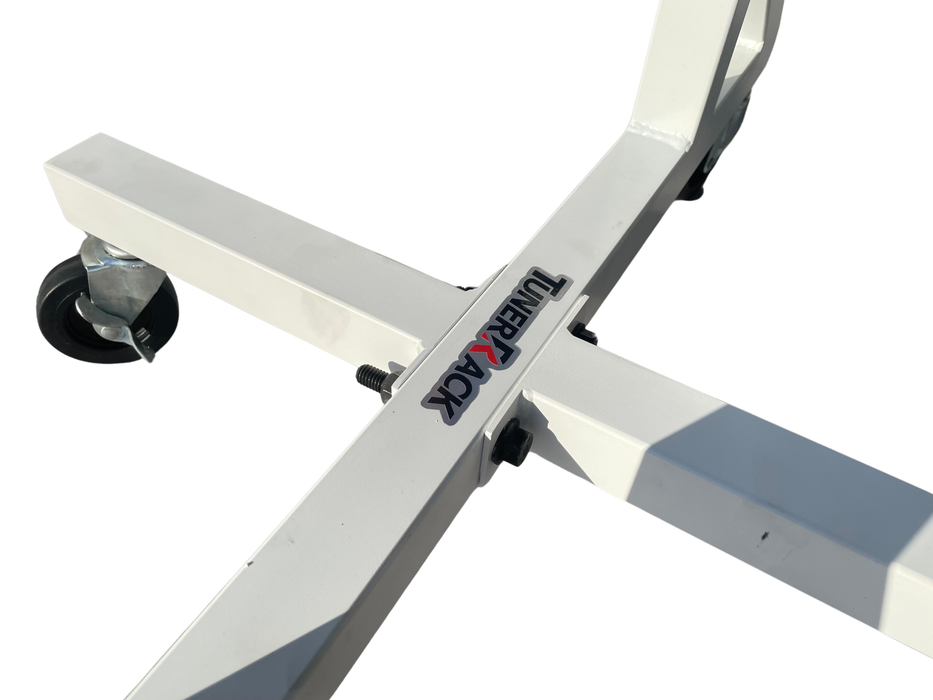
    2. Using the 2 long (2 1/2in) bolts connect the long and short arms to the base. Be sure that the holes for the casters are all facing in the same downward direction. 
    3. Slide the clevis sleeve over the LONG arm (DO NOT install the clevis sleeve over the shorter arm) Make sure the female clevis is pointing in the same direction as the top of the base engine mount locations. 
    4. Insert the male clevis of the support arm into the female clevis on the slide and secure it with the provided bolt. Avoid tightening this bolt until the engine stand is in use, as you'll need to adjust the support arm for optimal mounting. Additionally, refrain from tightening the main bolt until the arm is bolted to the top of the engine.
    5. Install the casters using the provided security nuts and tighten from within the square tubing while holding the base of the caster securely in place. You will need to slightly slide the Clevis sleeve towards the base to make room for the base of the caster. Make sure not to pinch the lower portion of the sleeve by tightening the caster partially over the lower portion of the sleeve.  
    6. Install the casters using the provided security nuts, tightening them from within the square tubing while holding the base of the caster securely in place. To accommodate the caster base, gently slide the Clevis sleeve towards the base allowing for a minimum of 1 inch clearance on both side of the hold on the longer base arm. Be cautious not to pinch the lower portion of the sleeve by partially tightening the caster over it. 
  • When mounting the engine to the stand please note the following:
  1. Align the engine mount studs securely with the engine mount brackets on the engine stand, ensuring that the front of the engine faces the longer base arm. Avoid attempting to mount the engine facing towards the shorter base arm, as this may unbalance the stand and lead to tipping over. The front of the engine should ALWAYS be mounted over the longer base arm. 
  2. Gently lower the engine stand, ensuring that the engine studs pass through the slits in both of the stand brackets.
  3. While the engine is still supported by the engine crane/cherry picker, use the original engine mount nuts to secure the engine mounts to the stand brackets.
  4. While maintaining moderate tension on the cherry picker, adjust the support arm to align with one of the threaded holes on one of the front engine accessory mounts. Utilize the bolts from that specific accessory mount to attach the top of the support arm to the engine. Exercise caution when mounting the top of the support arm to the engine and avoid removing or utilizing any essential bolts that are intended to support existing accessories.
  5. Once the top of the support arm is mounted to the engine, tighten the bolt at the base of the support arm, ensuring that the tightness does not exceed 16 foot-pounds.
  6. Once the lower engine mount nuts are tightened and the upper support arm is attached you may now disconnect the engine from the engine lift. 
  • Please note: When properly assembled this engine base is designed to withstand demanding loads however, it is not made to be dropped and abused. Please be careful not to drop the items during installation or when taking out of its packaging. Any damage during installation will not be refunded.

Proposition 65

Warning. Cancer and Reproductive Harm

http://p365warnings.ca.gov/